This guide will allow you the quickly gain some insight about the Ophidia platform. For additional information regarding the full set of features and operations provided by the platform check the user guides.
Let’s start downloading the OphidiaVM.
Import it inside the Virtual Box environment and start it.
Use the following credentials to login:
username: ophidia
password: ophidia
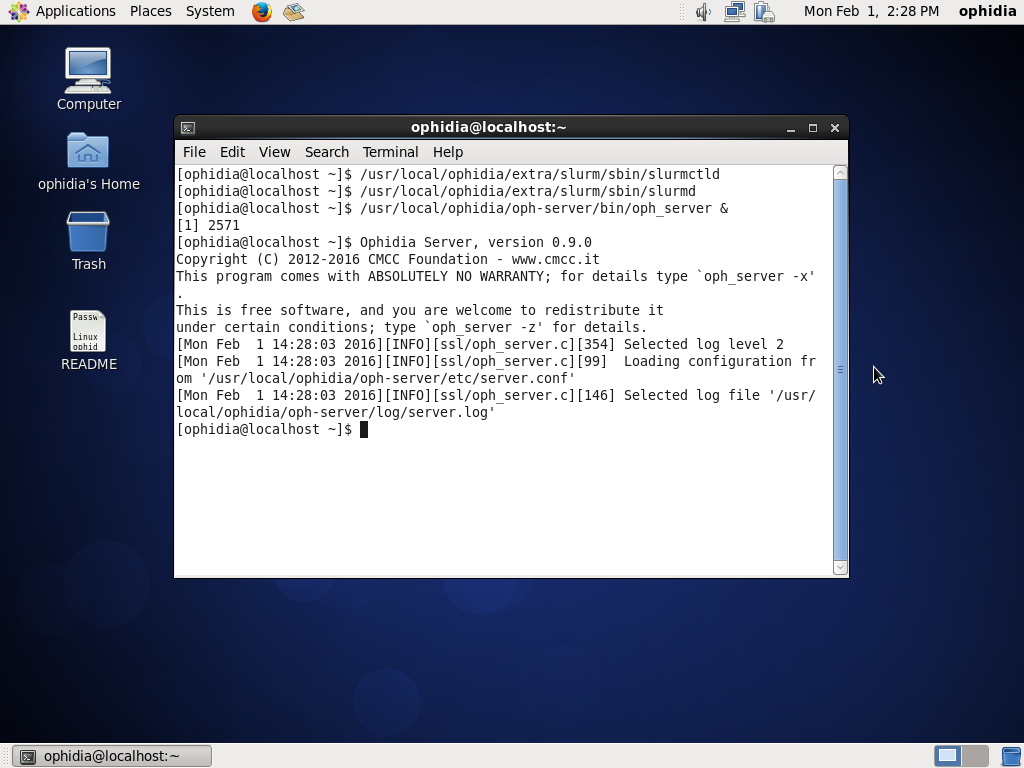
As ophidia user start the Ophidia Server using the command
/usr/local/ophidia/oph-server/bin/oph_server &

Now you are ready to run the Ophidia terminal.
oph_term
The default parameters are already defined in the environment:
user = see the *Credentials* file located under the Desktop folder of the Ophidia virtual machine
password = see the *Credentials* file located under the Desktop folder of the Ophidia virtual machine
Ophidia_Server_IP = 127.0.0.1
Ophidia_server_port = 11732
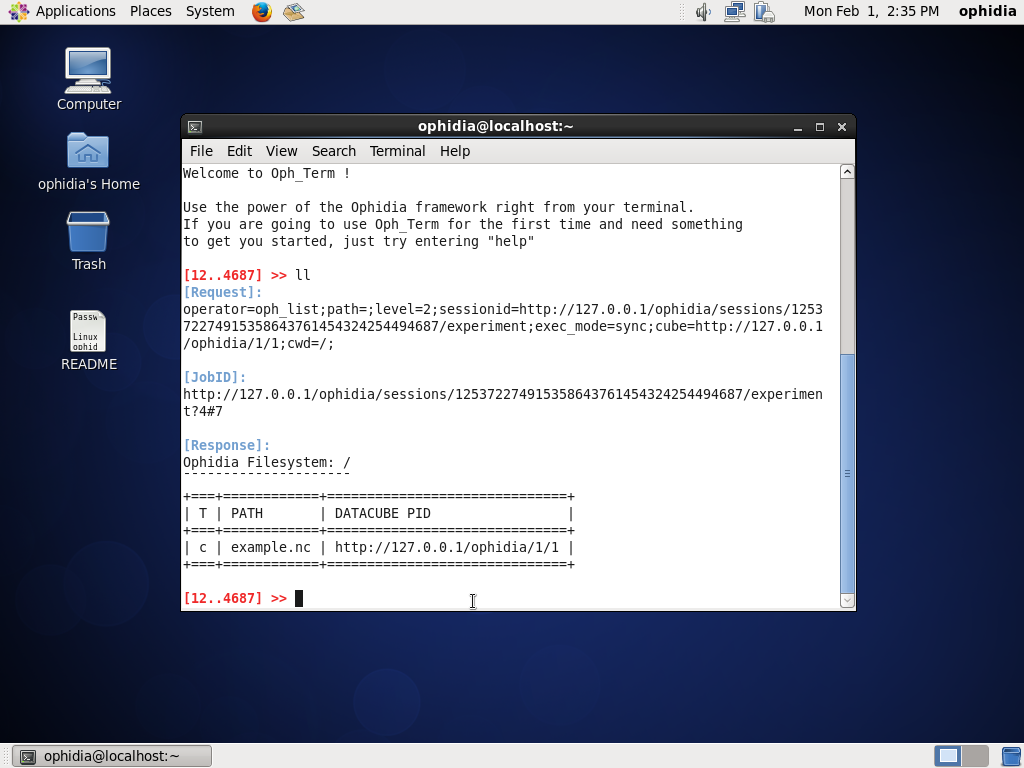
Let’s have a look at the data cubes in your environment:
ll
to list the data cubes and containers in your session.

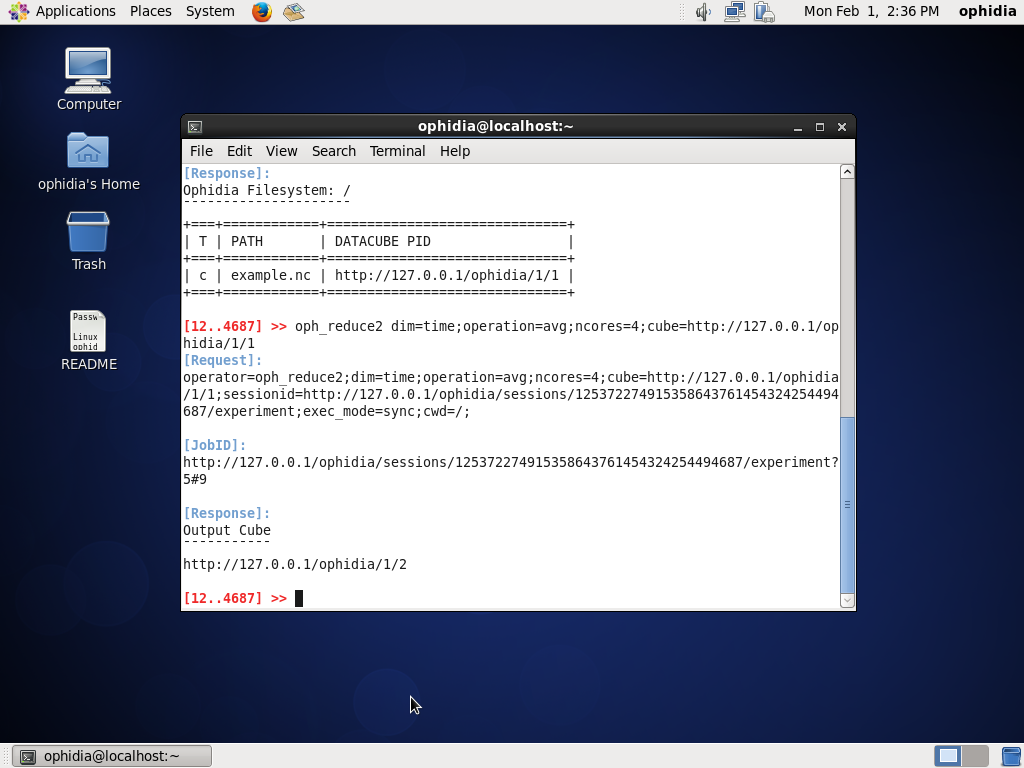
Now, you can submit your first operation of data transformation; let’s reduce the whole data cube in a single value for grid point using the average along the time:
oph_reduce2 dim=time;operation=avg;ncores=4;cube=<data_cube_PID>

By default the Ophidia terminal will use the last output data cube PID.
So, let’s use
oph_explorecube
to visualize the first 100 values.
For a more comprehensive test session, see Examples section.